


The Blue Hawk Dog Trolley Exerciser is a great tool. It helps keep your dog active. This guide will show you how to install it. Follow these steps for a smooth installation.
What is a Dog Trolley Exerciser?
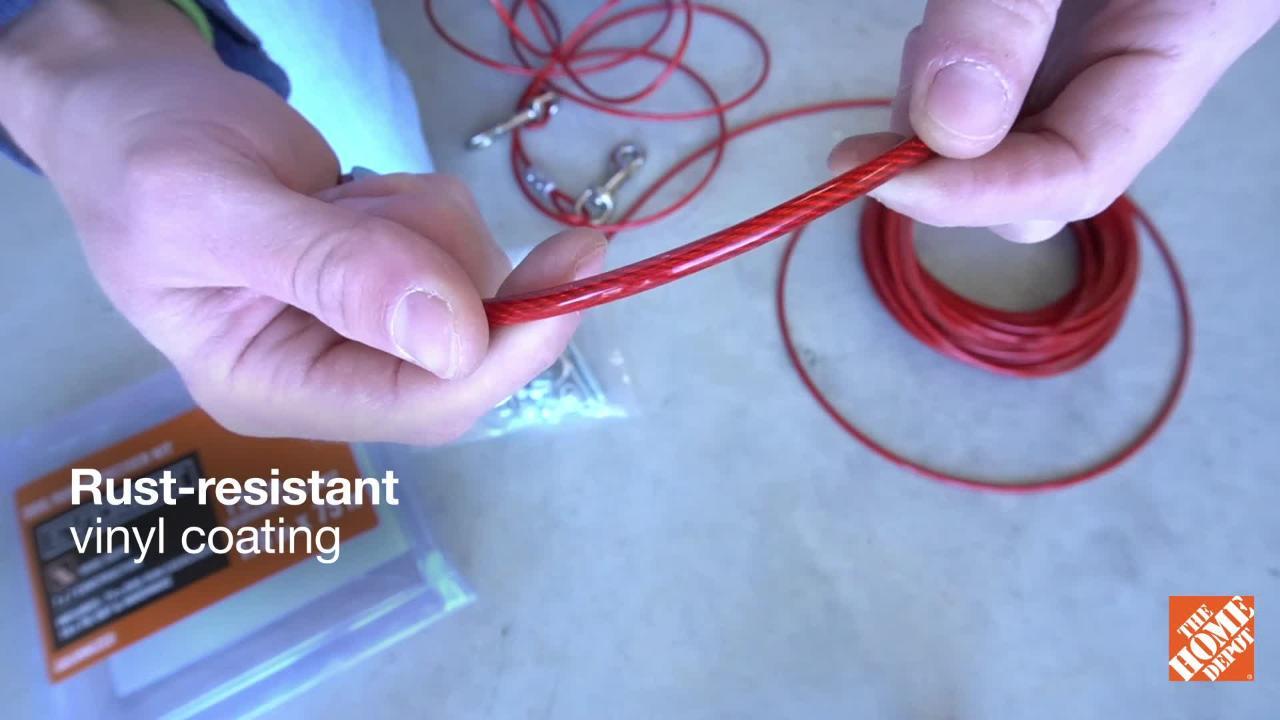
A dog trolley exerciser is a fun way for dogs to exercise. It allows them to run freely. It keeps them safe while they play. Dogs love to run, and this is a great way to let them do it!
Benefits of Using a Dog Trolley Exerciser
- Improves your dog’s physical health.
- Provides mental stimulation.
- Keeps your dog safe while exercising.
- Allows for controlled playtime.
- Reduces boredom and destructive behavior.
Credit: www.homedepot.com
Tools and Materials Needed
Before you start, gather these tools:
- Drill
- Hammer
- Screwdriver
- Measuring tape
- Blue Hawk Dog Trolley Kit
Step-by-Step Installation Process
Step 1: Choose A Suitable Location
Select a safe area in your yard. Ensure it is flat and free of obstacles. The area should have enough space for your dog to run.
Step 2: Read The Instructions
Before starting, read the installation manual. This helps you understand how to use each part. Knowing the components is essential.
Step 3: Gather The Components
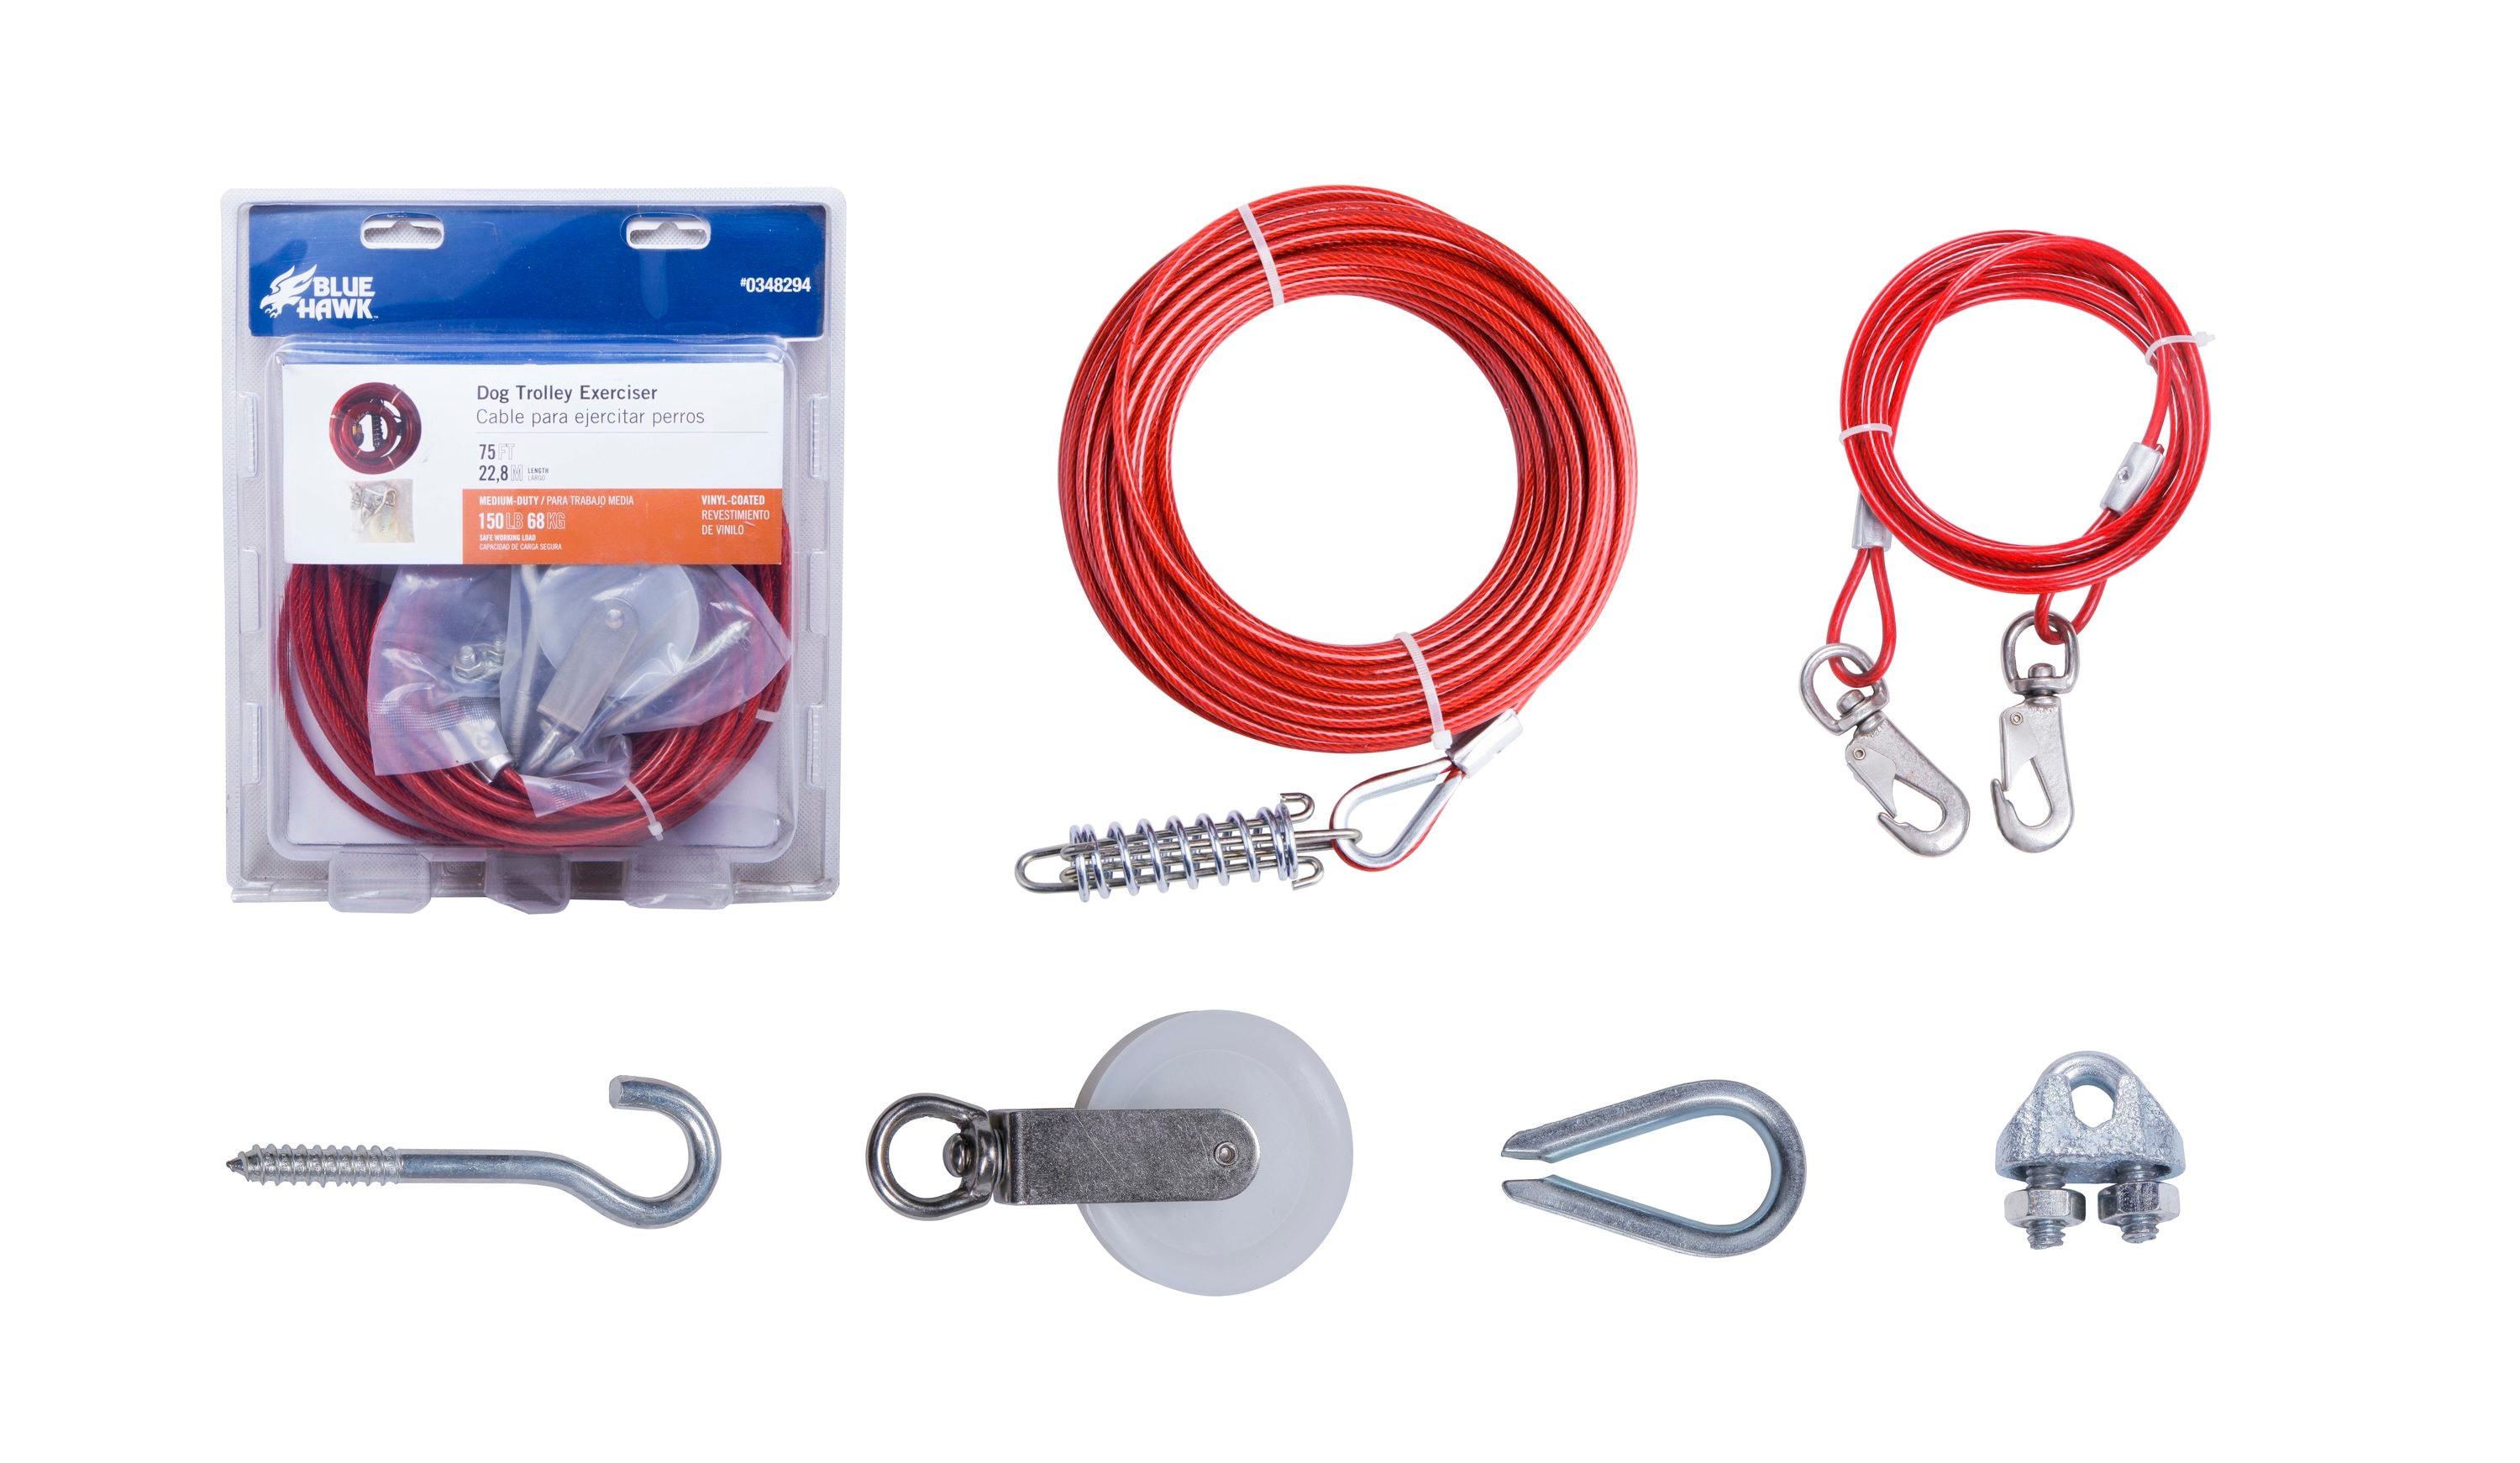
Unbox your Blue Hawk Dog Trolley. Lay out all parts. Check if anything is missing. You should have:
- Trolley line
- Anchor point
- Adjustable pulley
- Leash
Step 4: Install The Anchor Point
The anchor point is crucial. It holds the entire system. Use the drill to make a hole in the ground. Ensure it is deep enough for stability.
Place the anchor point in the hole. Use the hammer to secure it. Make sure it is tight and won’t move.
Step 5: Attach The Trolley Line
Next, attach the trolley line to the anchor point. Follow the manual’s instructions. Make sure it is secure and straight.
Step 6: Install The Adjustable Pulley
Now, install the adjustable pulley. This allows the trolley line to move smoothly. Attach it to the designated area. Ensure it is high enough for your dog to run.
Step 7: Connect The Leash
Attach the leash to the adjustable pulley. This is where your dog will be attached. Make sure it is secure and safe.
Step 8: Test The Setup
Before letting your dog use it, test the system. Pull the trolley line to see if it moves smoothly. Ensure everything is secure. Adjust any loose parts if needed.
Step 9: Introduce Your Dog
Now it’s time to let your dog play! Allow them to sniff around the area first. This helps them get comfortable.
Once your dog is familiar, attach the leash to their harness. Make sure it is snug but comfortable.
Step 10: Supervise Your Dog
Always supervise your dog while they use the trolley. Watch for any signs of discomfort. Ensure they are enjoying the exercise.
Safety Tips
Here are some safety tips to keep in mind:
- Always use a sturdy harness.
- Check the equipment regularly for wear and tear.
- Don’t leave your dog unattended.
- Make sure the area is safe and free from hazards.
Maintenance of the Dog Trolley Exerciser
To ensure your trolley lasts, follow these maintenance tips:
- Clean the equipment regularly.
- Check for rust or damage.
- Store it indoors during bad weather.
- Replace worn parts promptly.
Credit: www.lowes.com
Frequently Asked Questions
How Do I Set Up A Dog Trolley Exerciser?
Begin by choosing a suitable location, then attach the trolley to a sturdy anchor point and connect the harness to your dog.
What Tools Are Needed For Installation?
You will need a screwdriver, adjustable wrench, and possibly a drill, depending on your installation surface.
Is It Safe For My Dog To Use?
Yes, as long as you properly secure the harness and monitor your dog’s activity during use.
Conclusion
Installing the Blue Hawk Dog Trolley Exerciser is easy. With the right tools and steps, you can set it up in no time. Your dog will love the freedom to run. Enjoy watching them play safely!
Remember to supervise your dog. Regular exercise is vital for their health. Happy exercising with your furry friend!